It's 4:00 PM on a Tuesday. The forecast shows clear skies, low humidity, and average seeing conditions. The moon won't rise until 2:00 AM. It's the perfect night for the Orion Nebula (M42).
In the past, my preparation involved digging through a messy gear bag, guessing which eyepieces to bring, and hoping for the best. Today, my workflow is digital, precise, and—most importantly—fun. Here is exactly how I use the Telescope Eyepiece Calculator app to plan, execute, and log a successful observing session.
Step 1: The "Couch Planning" Phase
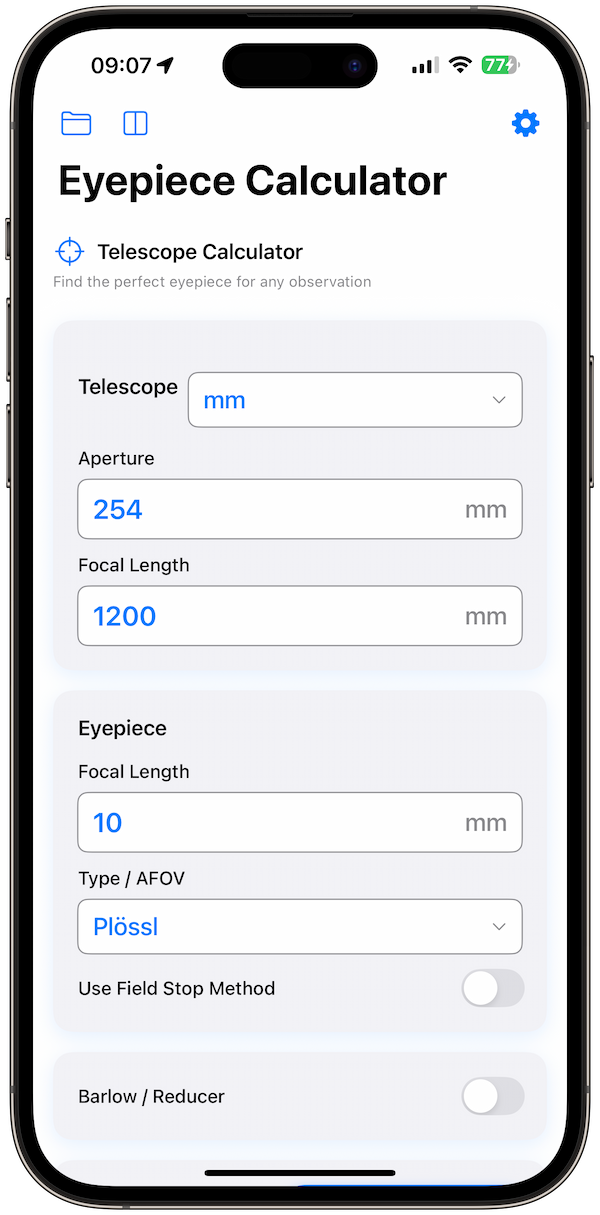
Before I even load the car, I open the app on my iPhone. My goal tonight is to tease out the faint outer wings of the nebula, which means I need the right balance of magnification and exit pupil.
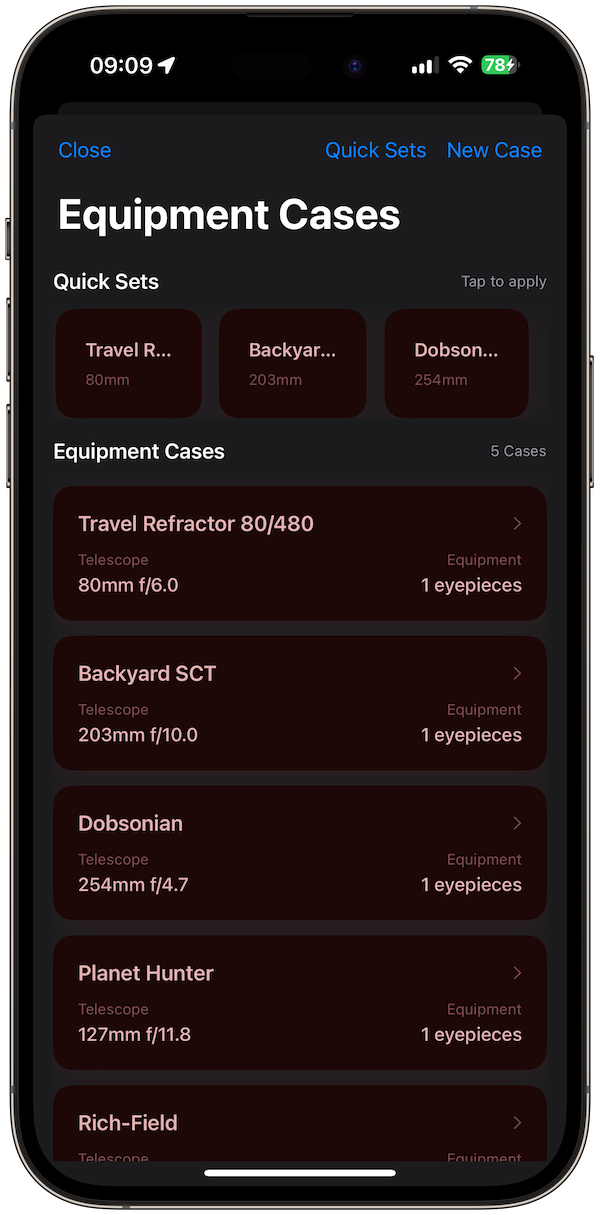
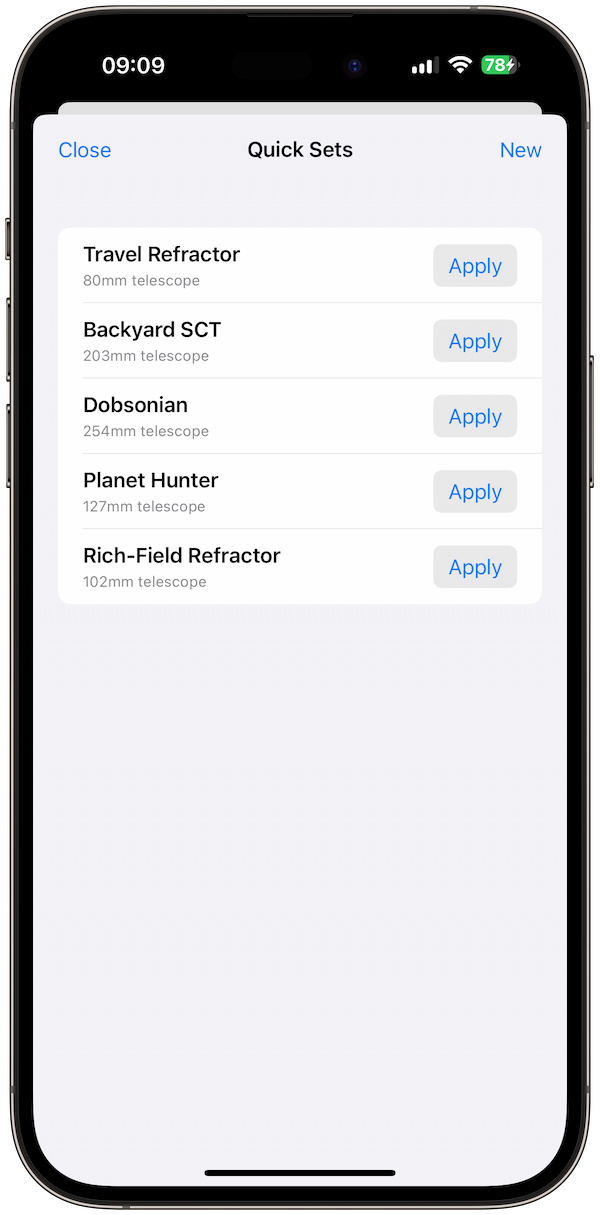
I go to my Equipment Cases. I have my "8-inch Dobsonian" case saved. I can see all my available eyepieces listed with their resulting calculation for this specific scope.
My Gear vs. Orion Nebula
Using the Visual Simulator, I double-check. I select "Orion Nebula" and toggle between my 30mm and 10mm eyepieces. The 30mm frames the entire sword of Orion beautifully. The 10mm cuts off the nebulosity but will be great for the Trapezium cluster in the center. I decide to bring both.
/2 equipment cases section dark mode.png)
Step 2: Field Checks & Smart Hints
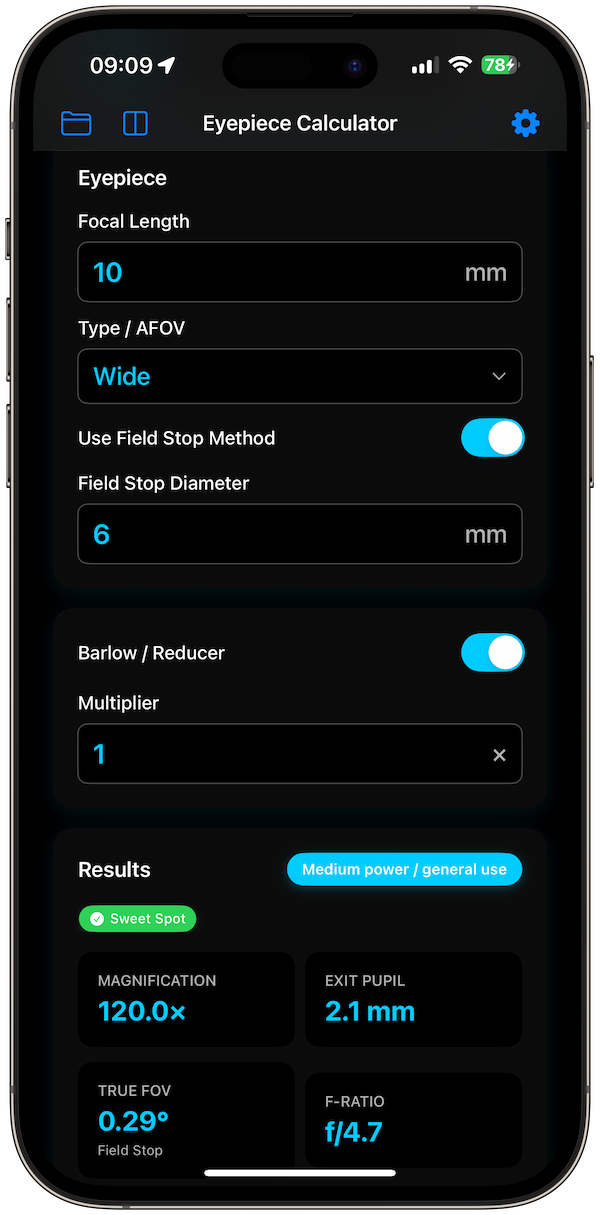
I'm set up in the field. It's cold, dark, and my night vision is adapting. I tap the app icon. The Red Night Mode (which I keep permanently enabled) greets me—no blinding glare.
I start with the 30mm. The view is nice, but the sky background looks a bit gray, washing out contrast. I wonder: "Can I push the magnification to darken the background without losing the nebula?"
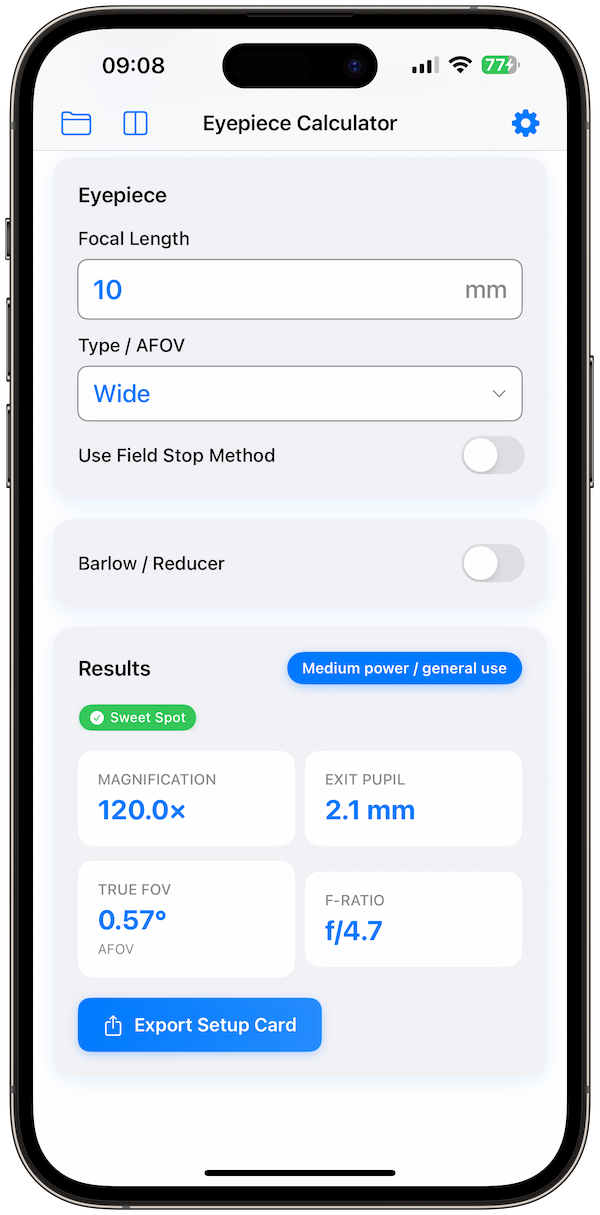
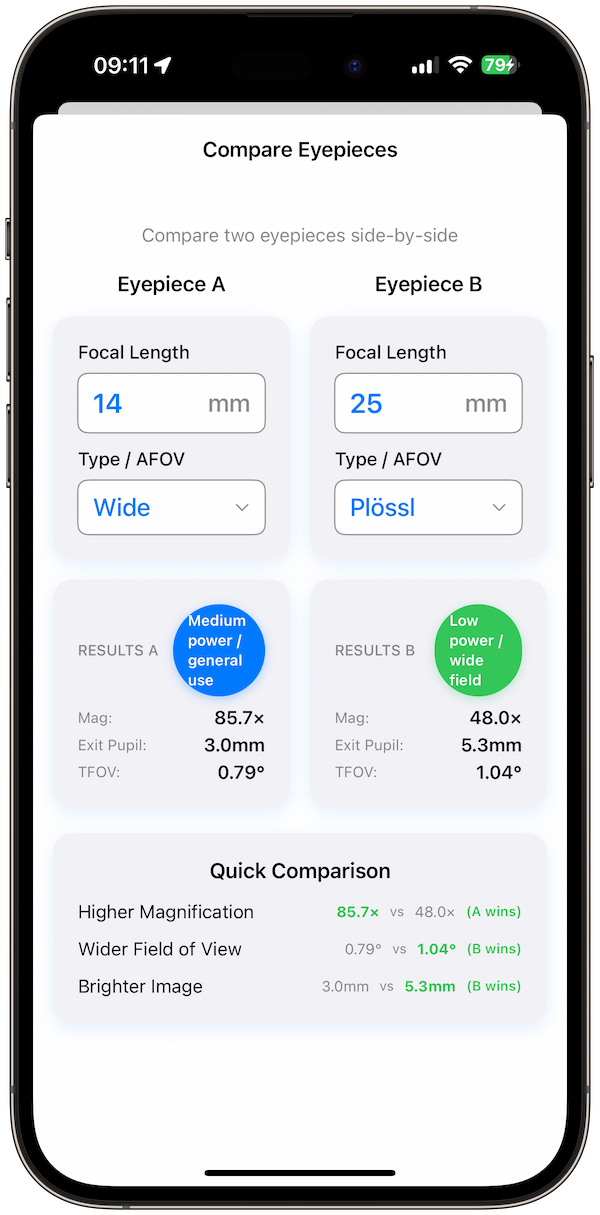
I punch in a custom 14mm eyepiece found in my friend's case. The app's Smart Hints immediately give me feedback:
- Exit Pupil: 2.3mm (Ideal for contrast in light-polluted skies)
- Category: Medium Power
This "2.3mm" number explains why the view pops! It's the sweet spot for darkening the sky while keeping the object bright.
Step 3: Logging the Observation
The night is going great. I want to remember this combination. In v1.2, this is where the new cloud-enabled features shine.
I hit "Log Observation." The app auto-fills the date, time, and my current equipment configuration. I dictate a quick note: "Trapezium E-star visible with averted vision. Nebulosity extends like wings to the FOV edge."
Because I'm using the new Cloud Sync (iCloud) feature, this log isn't stuck on my phone. By the time I get back home, it will be waiting on my iPad, ready for me to add a sketch or detailed editing.
Step 4: The Apple Watch Advantage
Later in the night, I'm star-hopping to the Crab Nebula. My hands are full—charts in one hand, telescope knob in the other. I don't want to pull my phone out of my pocket.
I glance at my wrist. The Apple Watch Companion app shows me my current TFOV is 0.8°. I know the star hop requires a 1° field to spot the guide stars. I quickly swap to a lower power eyepiece without ever touching my phone or breaking my flow. It feels like a superpower.
Step 5: Post-Session Analysis
Back indoors (and warm), I export a PDF Report of the session. It lists every object I viewed, the gear used, and my notes. I print this out for my physical binder—a nice analog backup to my digital life.
Try This Workflow Yourself
You don't need a degree in astrophysics to plan like a pro. Whether you have a small backyard refractor or a massive light bucket, Telescope Eyepiece Calculator adapts to your gear.