Actions
Watch on YouTubeTutorial Details
Actions
Watch on YouTubeTutorial Details
How to Install and Run Jupyter Notebook - Complete Guide
Learn how to install Python, set up Jupyter Notebook, and run interactive Python notebooks for data science and machine learning development.
Jupyter Notebook is the most popular interactive computing environment for data science, machine learning, and scientific computing. It allows you to create and share documents containing live code, equations, visualizations, and narrative text. This comprehensive guide covers the complete installation and setup process for Jupyter Notebook on Windows, including Python installation and best practices for getting started with data science projects.
Whether you're a beginner learning Python or an experienced data scientist, Jupyter Notebook provides an excellent environment for exploratory data analysis, prototyping algorithms, and sharing reproducible research.
Understanding Jupyter Notebook
Jupyter Notebook offers several key advantages for developers and researchers:
- Interactive Coding: Execute code in real-time with immediate output
- Data Visualization: Create charts, graphs, and plots inline
- Documentation: Combine code with rich text, equations, and images
- Reproducibility: Share complete analysis workflows
- Multi-language Support: Works with Python, R, Julia, and more
Prerequisites for Jupyter Installation
- Operating System: Windows 10/11 (64-bit recommended)
- RAM: At least 4GB (8GB+ recommended for data science)
- Disk Space: 2-3GB free space for Python and packages
- Internet Connection: For downloading Python and packages
- Administrator Rights: May be needed for some installations
Solution 1: Install Python
Python is the foundation for Jupyter Notebook and must be installed first.
Step 1: Download Python Installer
- Open your web browser and navigate to
https://www.python.org/downloads/ - Click on the "Download Python" button for the latest stable version
- Choose the Windows installer (usually "Windows installer (64-bit)")
- The download will start automatically
Step 2: Run Python Installation
- Locate the downloaded installer file (python-*.exe)
- Right-click and select "Run as administrator"
- In the installer, check the box "Add Python to PATH" at the bottom
- This is crucial for accessing Python from the command line
- Click "Customize installation" for more control
Step 3: Configure Installation Options
- In Optional Features, ensure these are selected:
- pip (Python package installer)
- Documentation
- tcl/tk and IDLE (Python's built-in IDE)
- Python test suite
- Choose installation location (default is usually fine)
- Click "Install" to begin the installation
- The installation may take several minutes
Step 4: Verify Python Installation
- Open Command Prompt or PowerShell
- Type
python --versionand press Enter - You should see the Python version displayed (e.g., "Python 3.11.5")
- Type
pip --versionto verify pip installation - Both commands should work without errors
Solution 2: Install Jupyter Notebook
With Python installed, you can now install Jupyter using pip.
Step 1: Open Command Prompt
- Press Windows key + R, type "cmd", and press Enter
- Alternatively, search for "Command Prompt" in the Start menu
- Right-click and run as administrator if needed
Step 2: Install Jupyter Notebook
- In the Command Prompt, type:
pip install notebook - Press Enter to execute the command
- The installation will download and install Jupyter Notebook and dependencies
- This process may take several minutes depending on your internet speed
- You'll see progress messages as packages are installed
Step 3: Alternative Installation Methods
- Conda Installation: If using Anaconda/Miniconda:
conda install jupyter - Bundle Installation: Install with common data science packages:
pip install jupyterlab - Development Version: For latest features:
pip install git+https://github.com/jupyter/notebook.git
Solution 3: Launch Jupyter Notebook
Once installed, you can start Jupyter Notebook from the command line.
Step 1: Start Jupyter Server
- Open Command Prompt or PowerShell
- Type:
jupyter notebook - Press Enter to launch the Jupyter server
- Your default web browser will open automatically
- The Jupyter dashboard will load showing your files and directories
Step 2: Navigate the Jupyter Interface
- The dashboard shows files in your current directory
- Use the "New" button to create notebooks or text files
- Click "Python 3" to create a new Python notebook
- The notebook will open in a new tab
Step 3: Create Your First Notebook
- In the new notebook, you'll see an empty code cell
- Type:
print("Hello, Jupyter!") - Press Shift + Enter to execute the cell
- You should see the output appear below the cell
- Try adding another cell with:
2 + 2
Solution 4: Configure Jupyter Notebook
Customize Jupyter for better productivity and functionality.
Step 1: Generate Configuration File
- Open Command Prompt
- Type:
jupyter notebook --generate-config - This creates a configuration file at
~/.jupyter/jupyter_notebook_config.py - You can edit this file to customize Jupyter behavior
Step 2: Set Custom Password
- In Command Prompt, type:
jupyter notebook password - Enter your desired password when prompted
- Confirm the password
- This secures your Jupyter server with authentication
Step 3: Change Default Directory
- Create a dedicated folder for your notebooks (e.g.,
C:\Users\YourName\JupyterNotebooks) - Navigate to that folder in Command Prompt
- Launch Jupyter with:
jupyter notebook - Jupyter will open in that directory
Advanced Jupyter Features
Explore powerful features that make Jupyter Notebook indispensable:
Magic Commands
- %matplotlib inline: Display plots directly in notebooks
- %time: Time code execution
- %%writefile: Write cell content to file
- %run: Execute external Python scripts
Extensions and Widgets
- nbextensions: Enhanced notebook features and themes
- ipywidgets: Interactive HTML widgets for exploration
- RISE: Create slideshow presentations from notebooks
Troubleshooting Jupyter Installation Issues
Resolve common problems during installation and setup:
Issue: Python Not Recognized
Problem: Command prompt can't find Python after installation.
Solutions:
- Verify "Add Python to PATH" was checked during installation
- Restart Command Prompt after installation
- Manually add Python to PATH environment variables
- Use full path to python.exe for testing
- Reinstall Python with PATH option if needed
Issue: Pip Install Fails
Problem: Jupyter installation fails with pip errors.
Solutions:
- Upgrade pip:
python -m pip install --upgrade pip - Use
--userflag:pip install --user notebook - Try alternative installation:
python -m pip install notebook - Check internet connection and firewall settings
- Use a virtual environment to avoid permission issues
Issue: Jupyter Won't Start
Problem: Jupyter command executes but browser doesn't open.
Solutions:
- Check for error messages in the command prompt
- Verify port 8888 is not blocked by firewall
- Try launching with specific browser:
jupyter notebook --browser=chrome - Access manually at
http://localhost:8888 - Check if another application is using port 8888
Issue: Kernel Connection Failed
Problem: Notebook opens but shows "Kernel not connected" error.
Solutions:
- Restart the kernel using the Kernel menu
- Check Python installation integrity
- Try creating a new notebook
- Install ipykernel:
pip install ipykernel - Check for conflicting Python installations
Issue: Packages Not Importing
Problem: Import statements fail in notebook cells.
Solutions:
- Install required packages:
pip install package_name - Restart the kernel after installing packages
- Check if you're using the correct Python environment
- Use
!pip installdirectly in notebook cells - Verify package compatibility with your Python version
Best Practices for Jupyter Notebook Usage
Follow these guidelines for effective Jupyter Notebook development:
Project Organization
- Directory Structure: Organize notebooks by project/topic
- Naming Convention: Use descriptive names with dates
- Version Control: Commit notebooks to Git repositories
- Backup Strategy: Regularly backup important notebooks
Code Quality
- Modular Code: Break complex operations into functions
- Documentation: Use markdown cells for explanations
- Comments: Document code logic and assumptions
- Error Handling: Include proper exception handling
Performance Optimization
- Efficient Imports: Import only needed libraries
- Memory Management: Clear large variables when done
- Restart Kernel: When memory usage gets high
- Parallel Processing: Use multiprocessing for intensive tasks
Jupyter Notebook Alternatives
Consider these alternatives based on your specific needs:
JupyterLab
- Modern Interface: More advanced IDE-like environment
- File Browser: Better file management capabilities
- Extensions: Rich ecosystem of extensions
- Installation:
pip install jupyterlab
Google Colab
- Cloud-Based: Run notebooks in the cloud
- Free GPU Access: Access to GPU resources
- Collaboration: Real-time collaborative editing
- No Setup Required: Works directly in browser
VS Code Jupyter Extension
- Integrated IDE: Jupyter inside VS Code environment
- Debugging: Full debugging capabilities
- Git Integration: Version control built-in
- Extensions: Access to VS Code marketplace
Data Science Setup with Jupyter
Once Jupyter is running, set up a complete data science environment:
Essential Libraries
- NumPy:
pip install numpy- Numerical computing - Pandas:
pip install pandas- Data manipulation - Matplotlib:
pip install matplotlib- Data visualization - Scikit-learn:
pip install scikit-learn- Machine learning - Jupyter Widgets:
pip install ipywidgets- Interactive widgets
Your First Data Science Notebook
- Create a new notebook
- Import libraries:
import pandas as pd, numpy as np, matplotlib.pyplot as plt - Load sample data:
df = pd.read_csv('sample_data.csv') - Explore data:
df.head(), df.describe() - Create visualizations:
df.plot(kind='bar'); plt.show()
Related Tutorials
- How to Install Java JDK on Windows - Java development environment setup.
- How to Fix Python Not Recognized Error - Python environment troubleshooting.
- How to Set Up VS Code for Python Development - Python IDE configuration.
Conclusion
Installing and running Jupyter Notebook opens up a world of interactive computing possibilities for data science, machine learning, and general Python development. By following this comprehensive guide, you'll have a fully functional Jupyter environment that allows you to create, edit, and share computational documents with ease.
Jupyter Notebook's ability to combine code execution, rich text, mathematics, plots, and multimedia makes it an indispensable tool for modern data science workflows. The interactive nature allows for exploratory programming, rapid prototyping, and clear communication of technical concepts.
As you become more comfortable with Jupyter, explore advanced features like widgets, extensions, and integration with other tools. The Jupyter ecosystem continues to grow, offering powerful capabilities for everything from simple calculations to complex machine learning projects.
Whether you're analyzing data, teaching programming, or developing algorithms, Jupyter Notebook provides the perfect environment for interactive, reproducible computing. Start exploring the possibilities today!
Tags
Related Tutorials

How to Get Your OpenAI API Key - Complete Guide
Generate and configure OpenAI API keys with proper permissions, project settings, and security measures for accessing AI services.
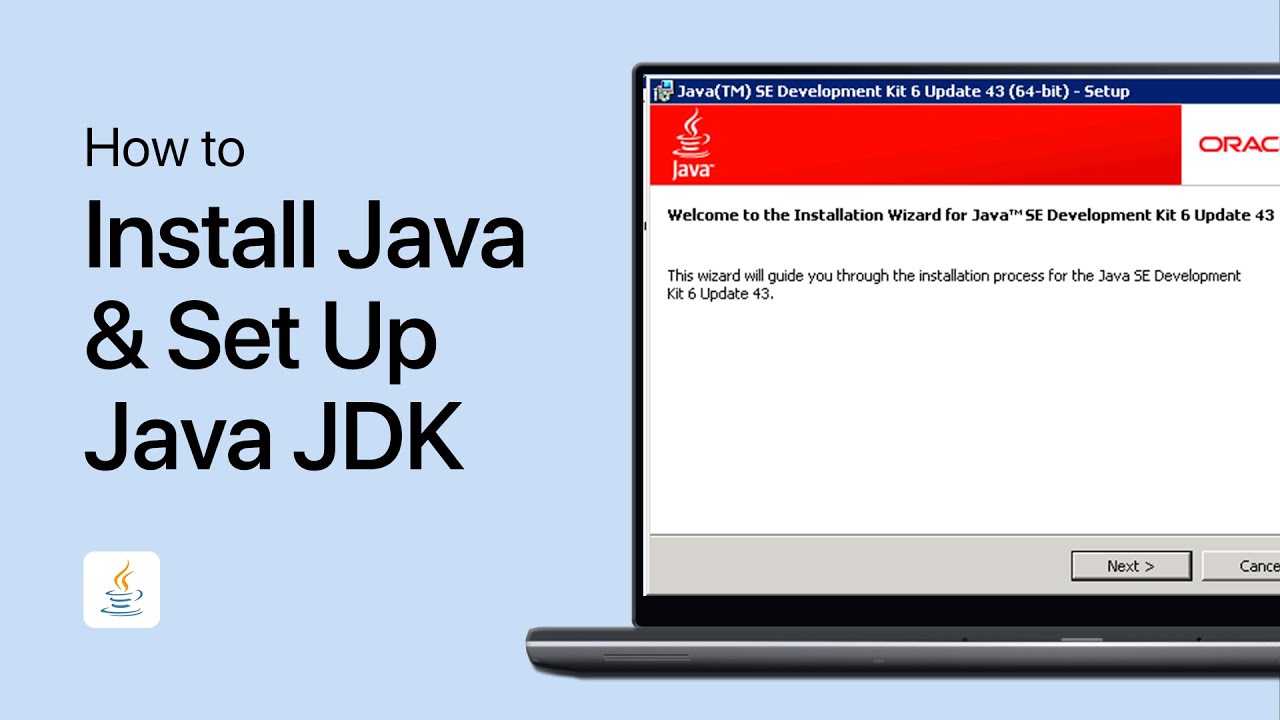
How to Install Java and Set Up JDK on Windows - Complete Guide
Complete Java installation guide for Windows including JDK setup, environment variables configuration, and verification for development.
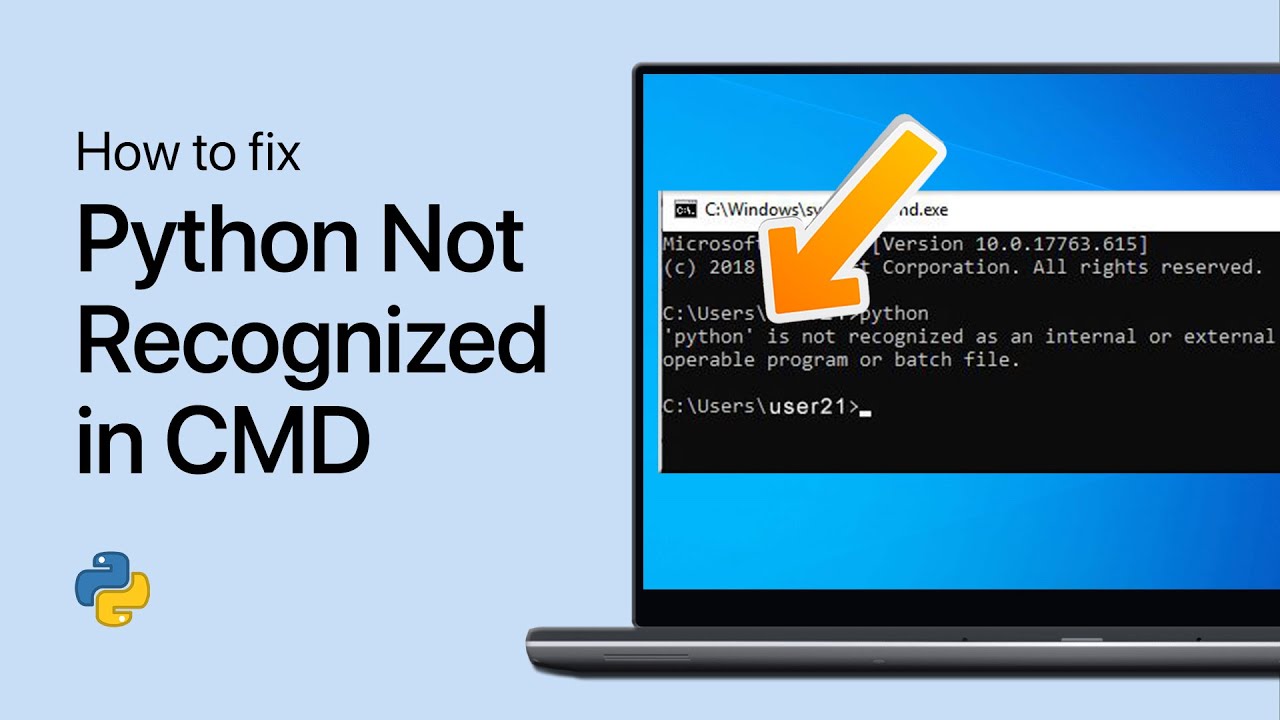
How to Fix 'Python Not Recognized' Error in Windows Command Prompt
Resolve Python command prompt errors by locating Python installation path and configuring environment variables for proper command line access.

How to Set Up Visual Studio Code for Python Development
Complete VS Code Python setup guide with extensions installation, virtual environment configuration, and debugging setup for professional development.