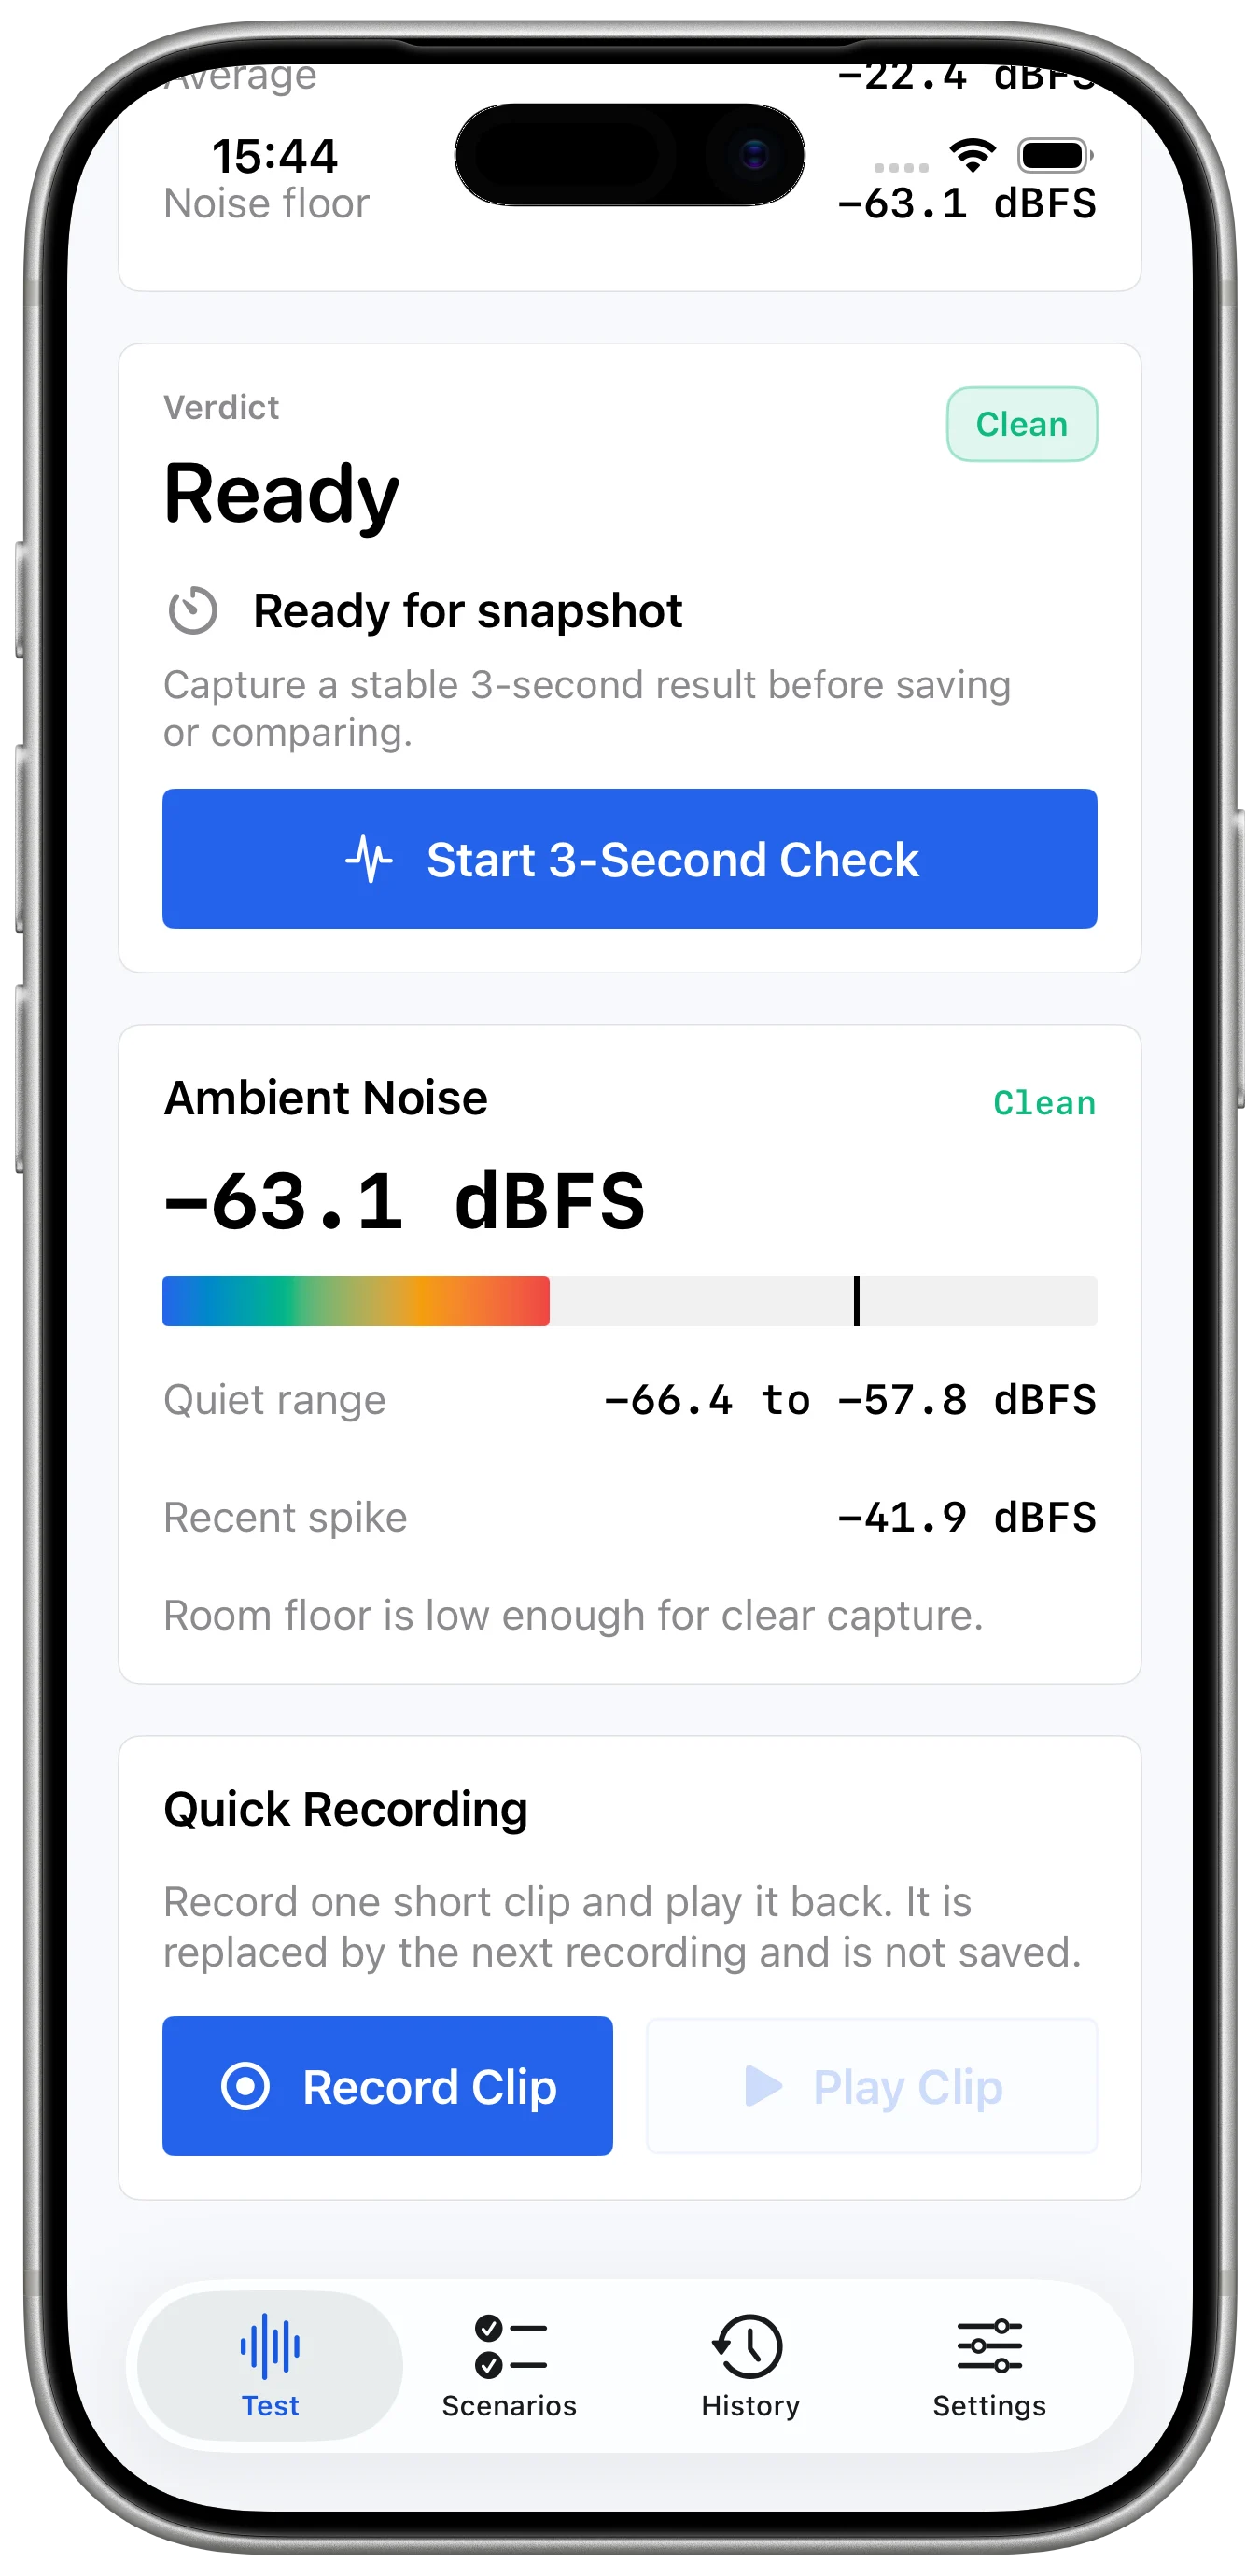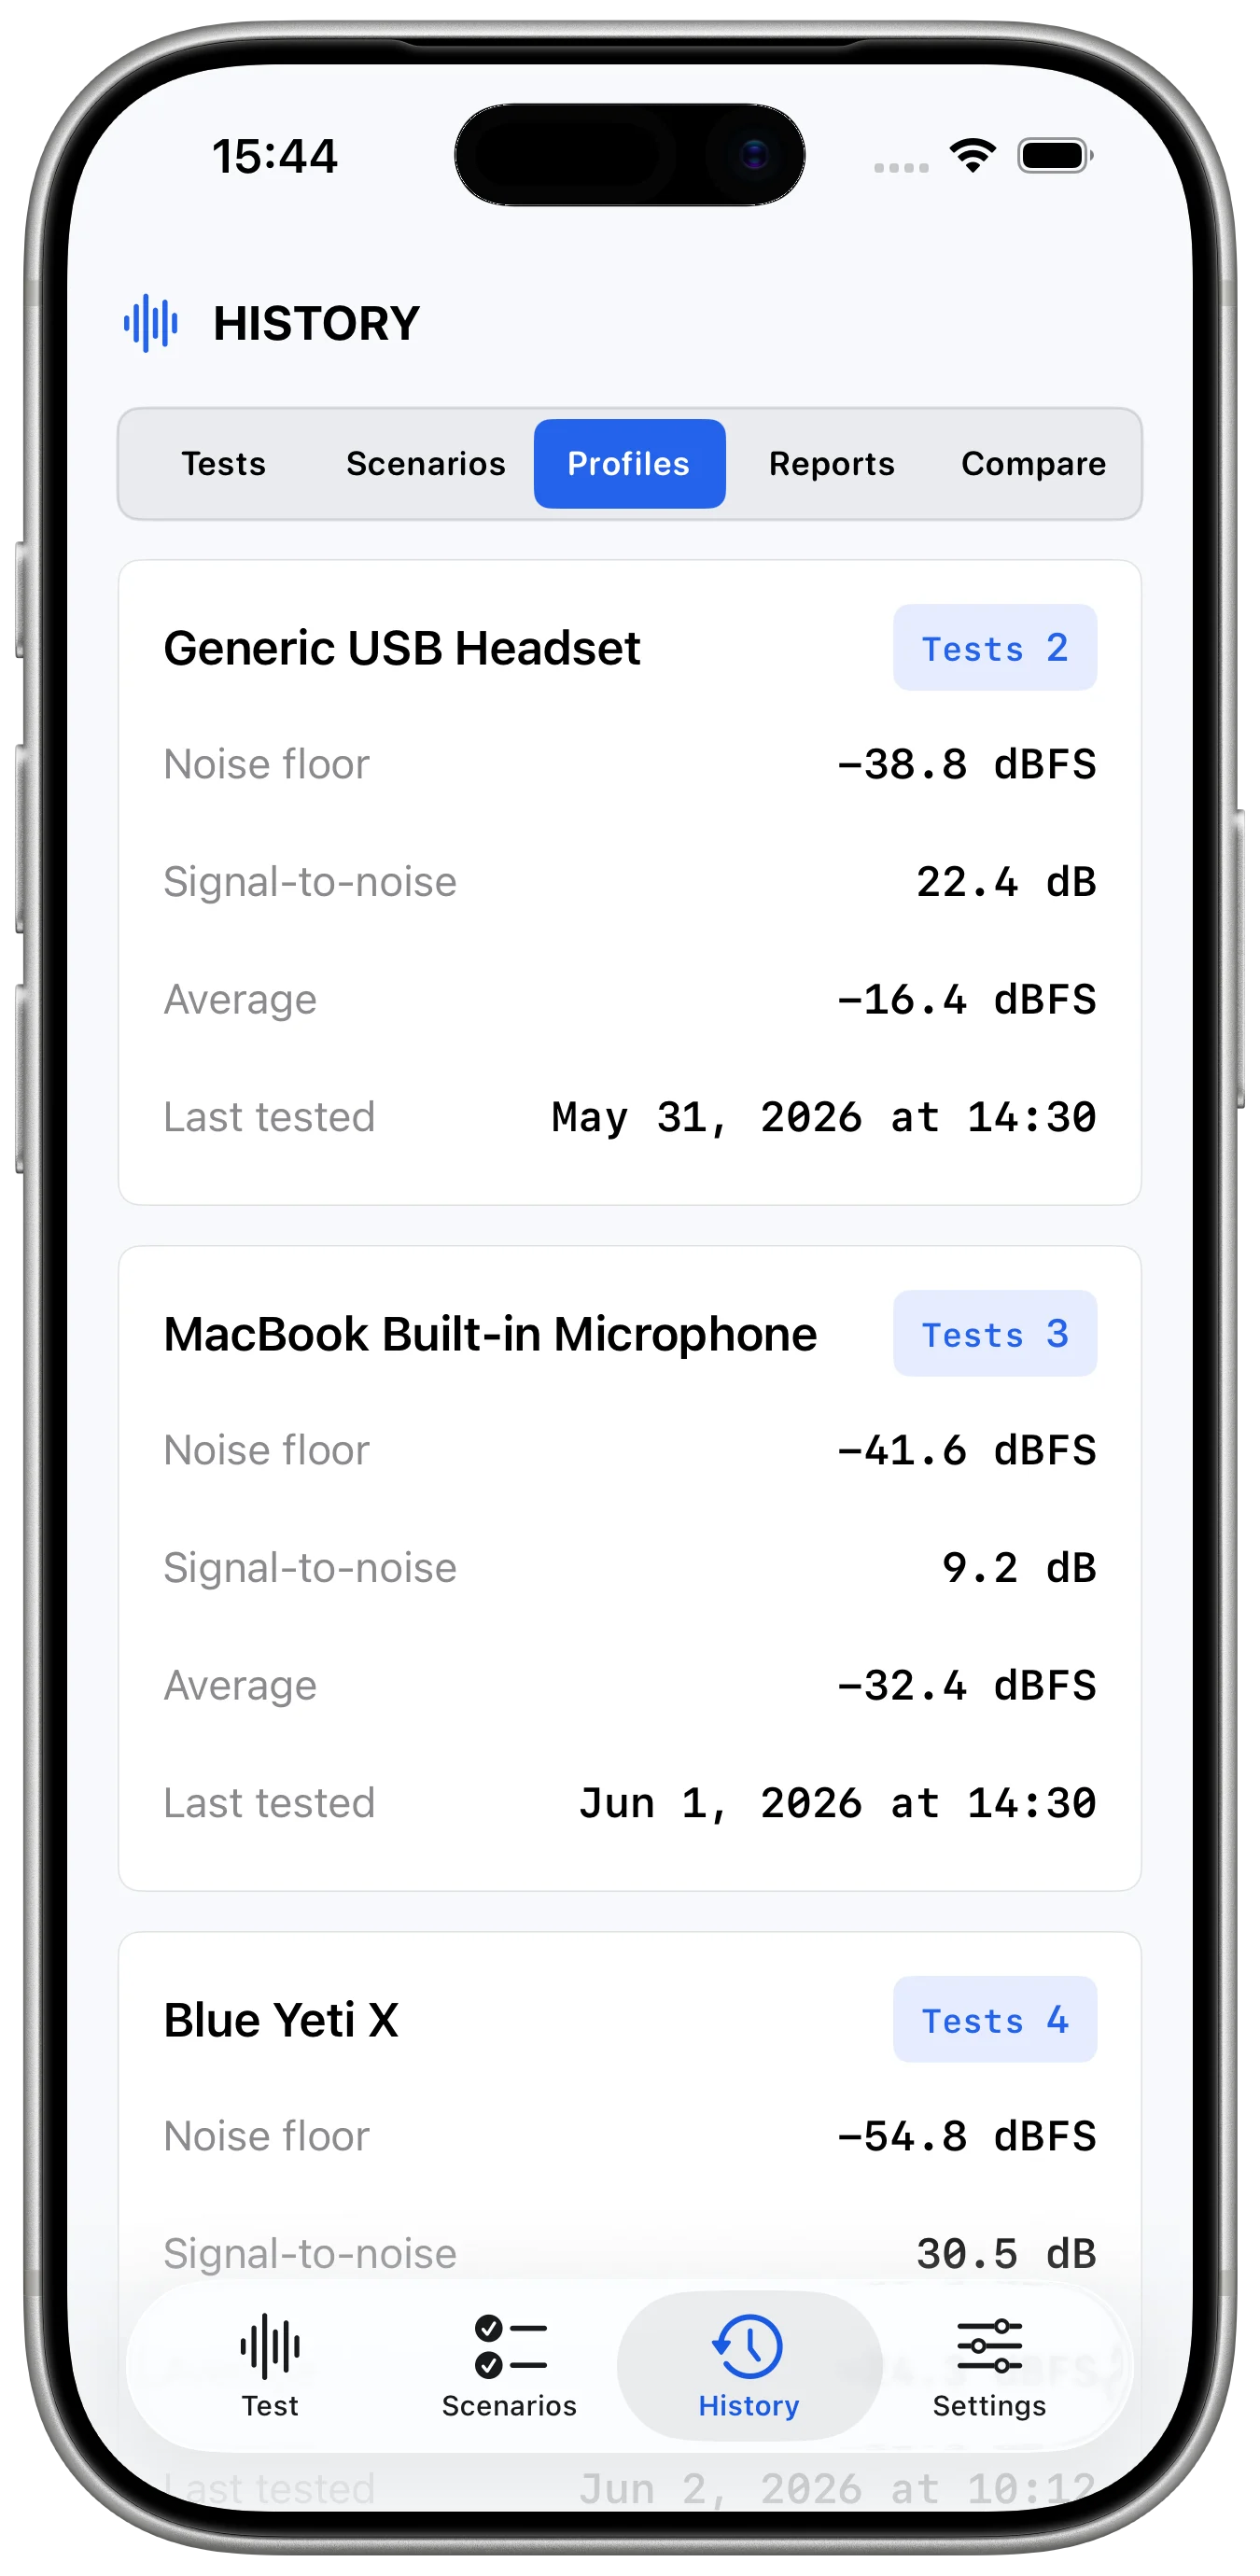

A microphone problem is easiest to fix before a call starts. The goal is simple: confirm that the right input is selected, your voice is clear, the room noise is under control, and the app has permission to use the microphone. A short test can prevent the common situation where a meeting begins with silent audio, heavy background noise, or the wrong headset selected.
Check the selected input
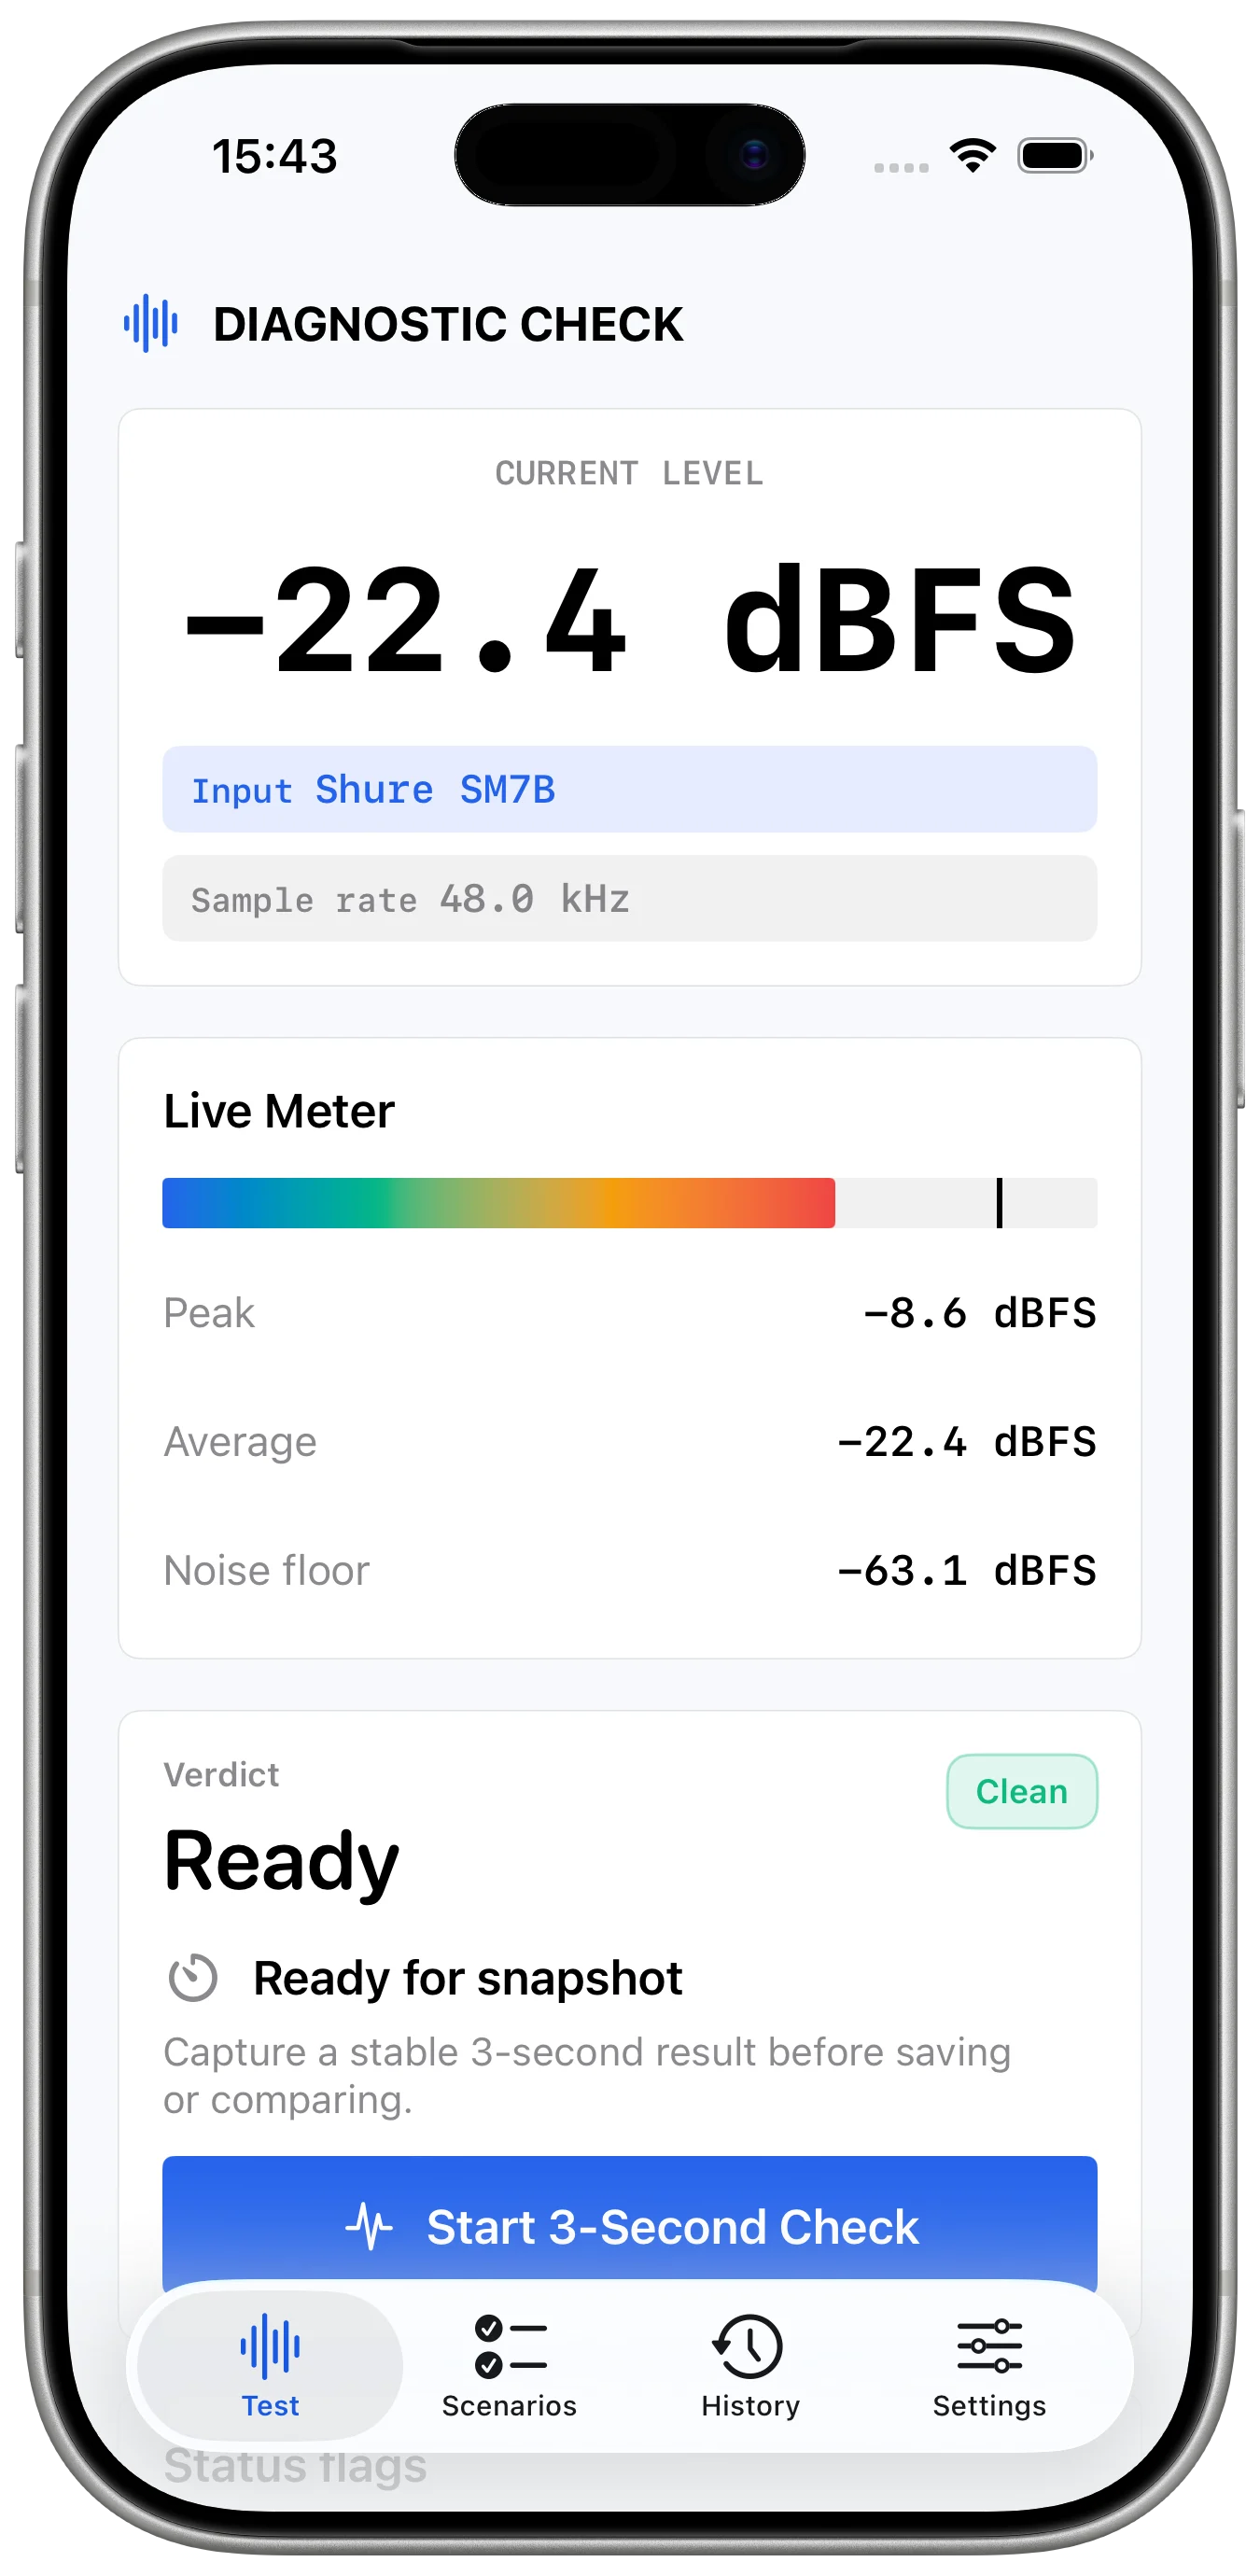
Start by confirming which microphone your device is using. Built-in microphones, Bluetooth headsets, USB microphones, and external audio interfaces can all appear as separate inputs. If the wrong one is active, your voice may sound distant or may not be captured at all.
Speak at your normal call volume
Test at the volume you will actually use during the call. If you whisper during setup and speak louder later, the result will not match the real session. Watch for a healthy level that responds when you speak without staying pinned at the top. If the signal clips or distorts, move the microphone away or lower the input level where your setup allows it.
Listen for room noise
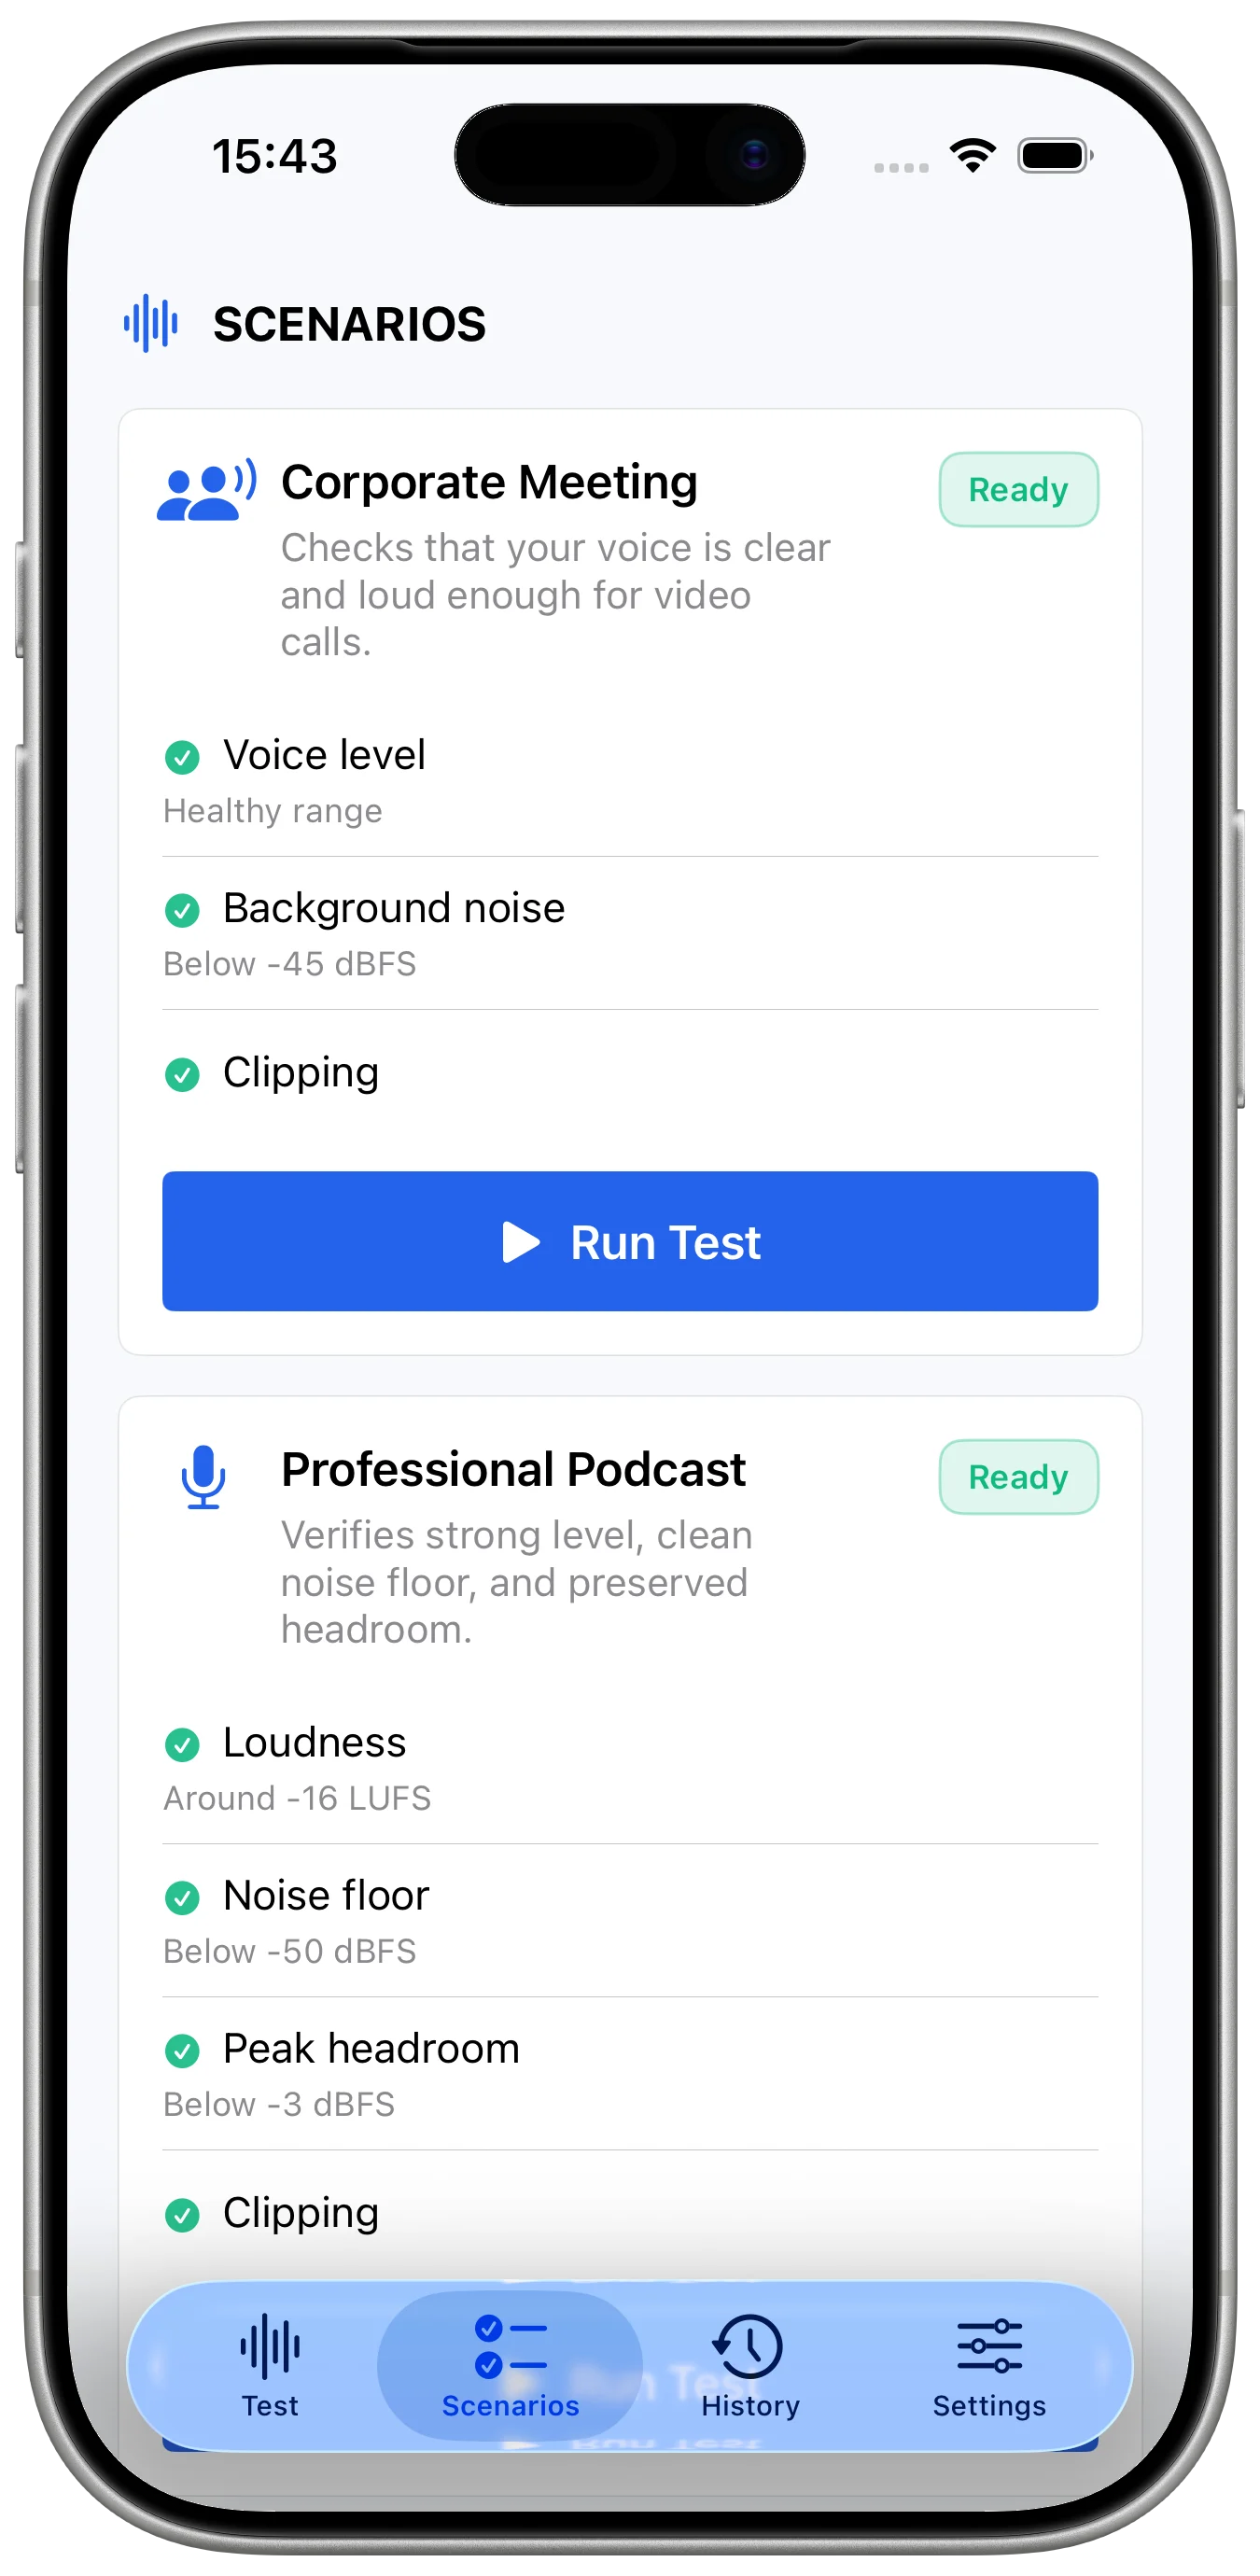
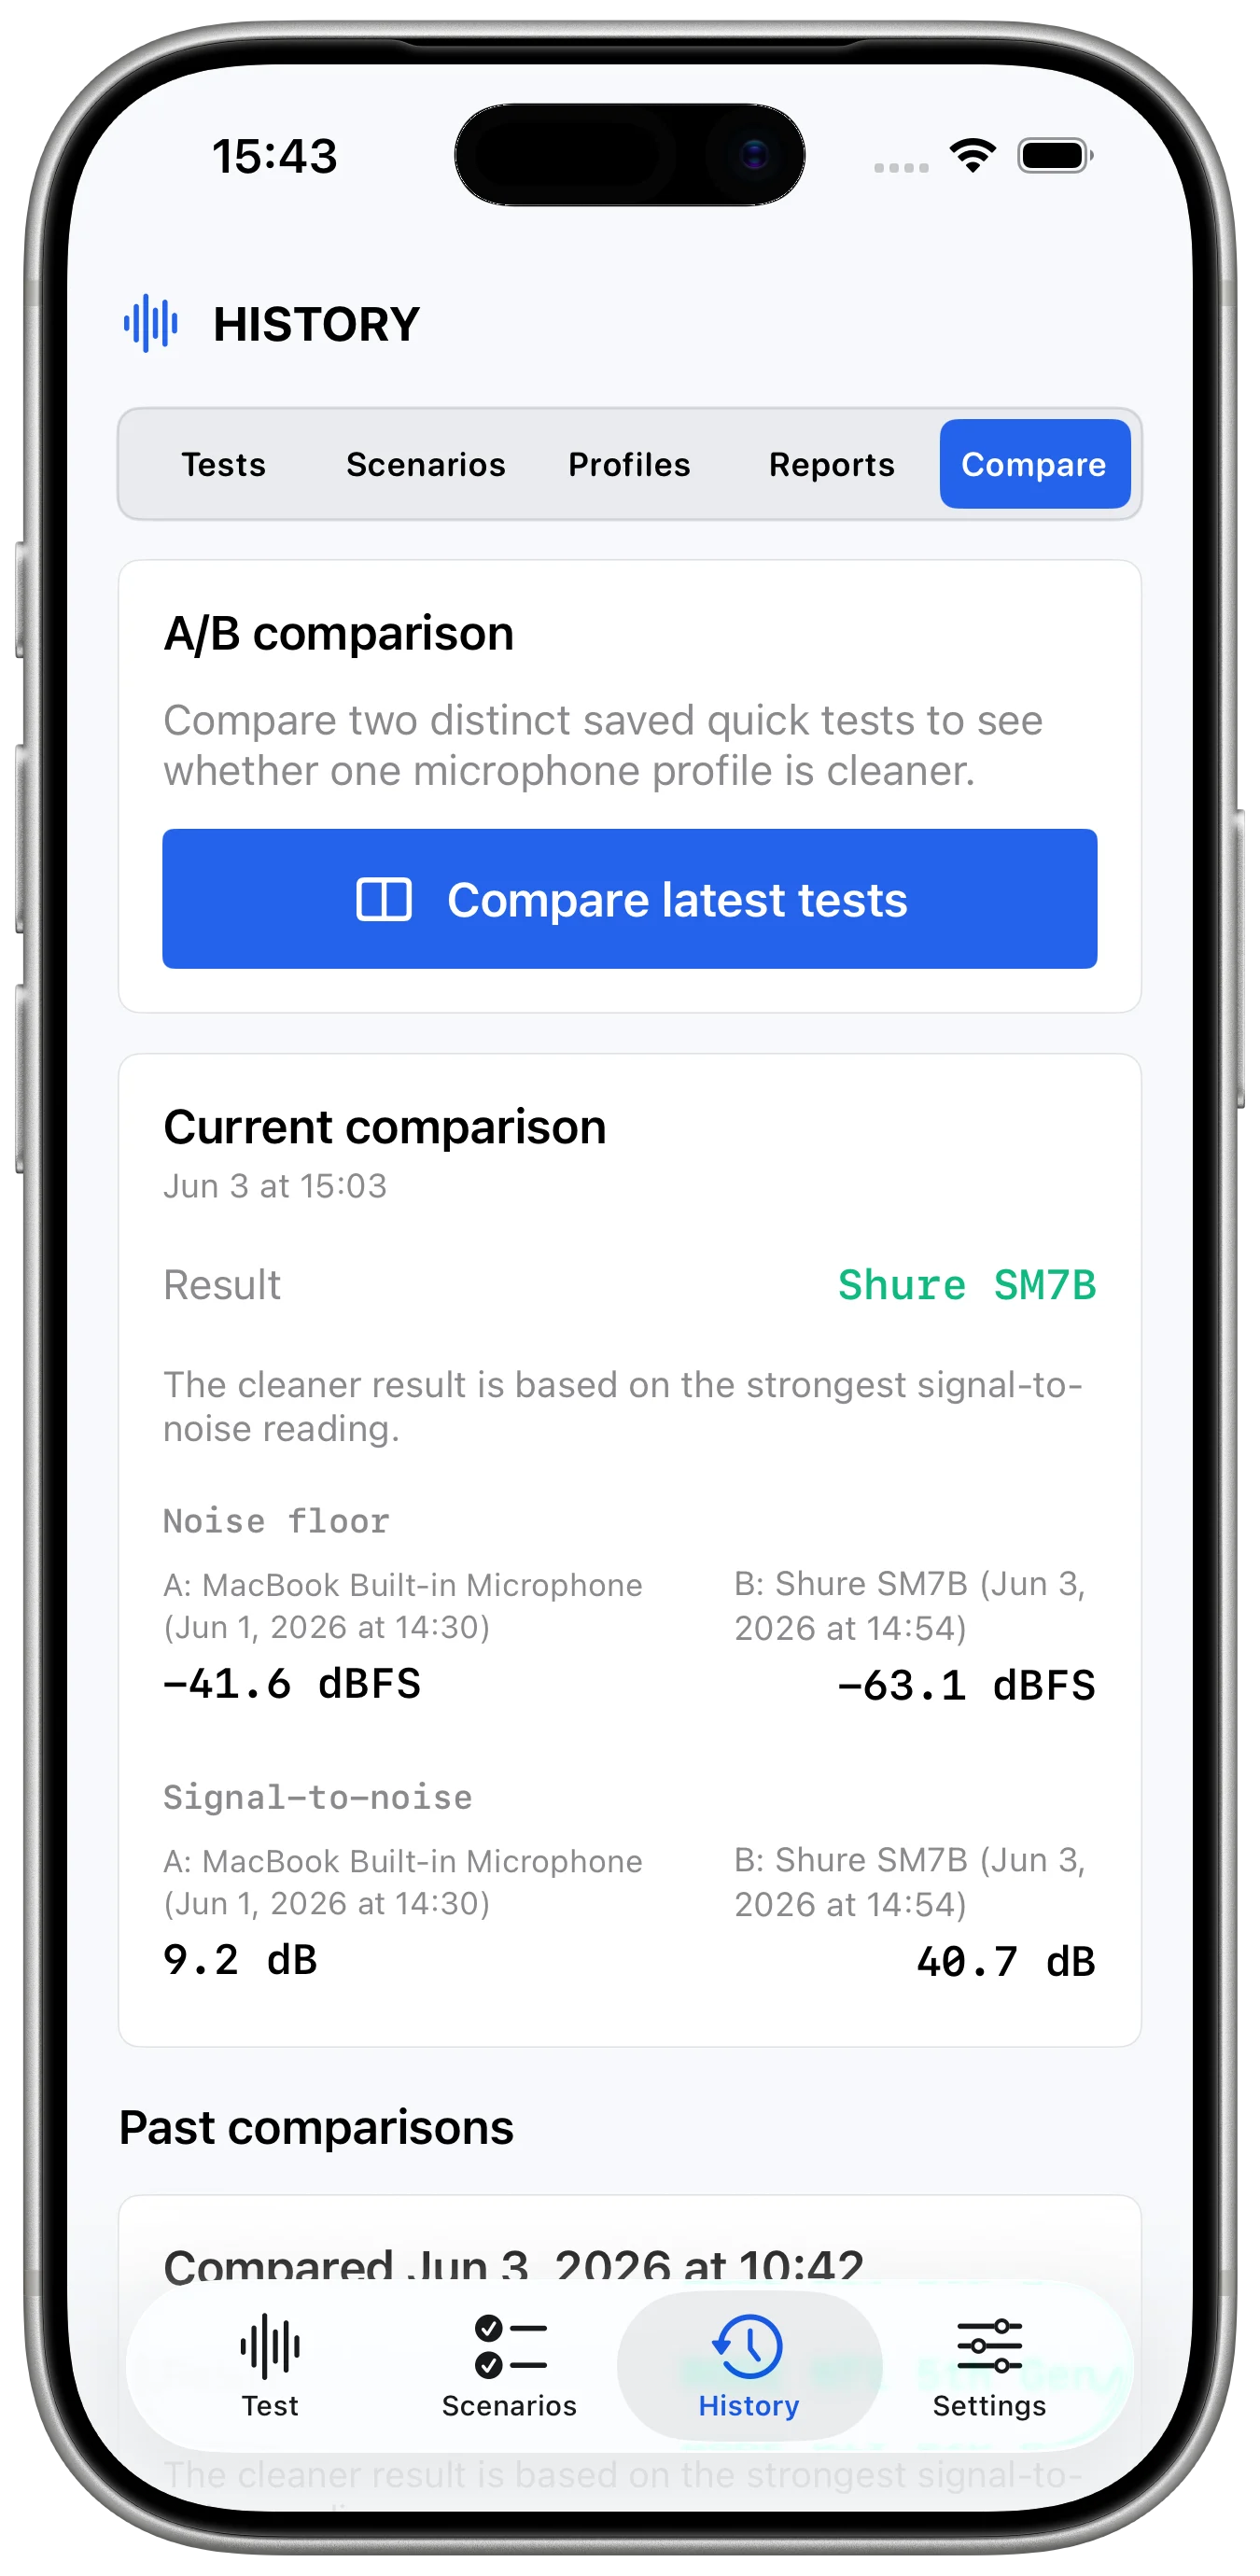
Fans, keyboards, street noise, and echo can all make a call harder to follow. A useful pre-call check should show more than movement on a meter. It should help you understand whether the room is quiet enough and whether your current microphone position is working.
Confirm permissions before joining
If the microphone permission is blocked, the call app cannot capture audio. Check permission prompts early, especially after changing browsers, reinstalling apps, or switching devices. This is the kind of issue that feels urgent during a live call and trivial when checked in advance.
Use Mic Test Studio for repeat checks
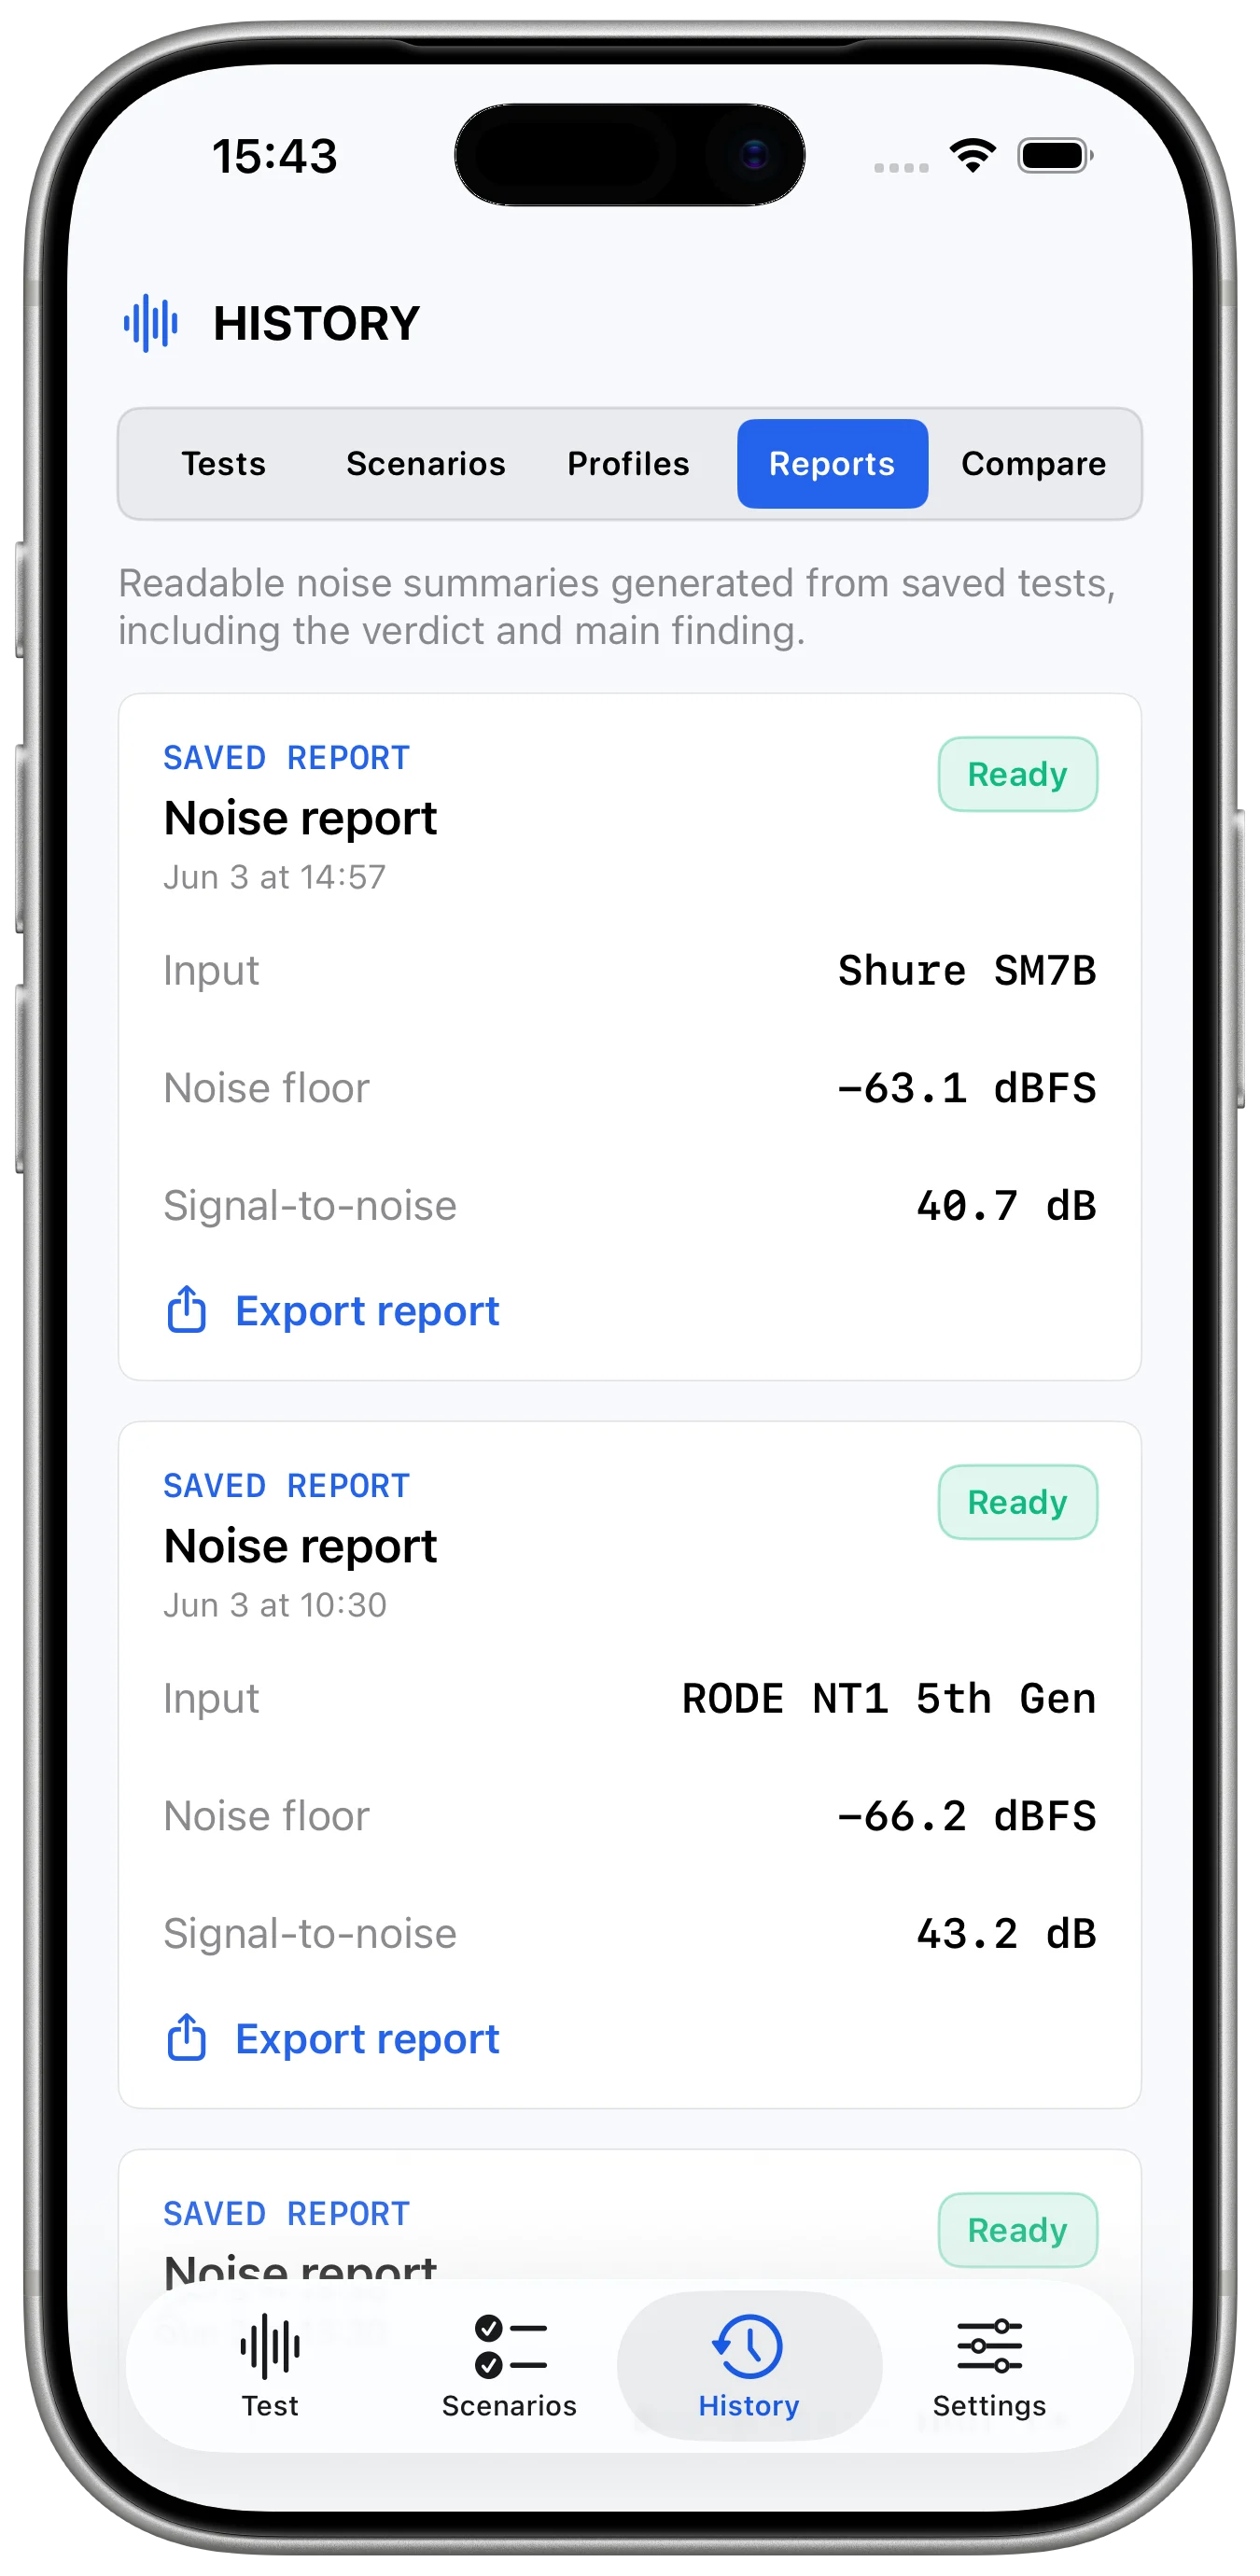
Mic Test Studio: Audio Check is built for this exact moment. It helps you test microphone input before a meeting or recording, review audio levels and noise context, compare devices or setups, and troubleshoot microphone access on iPhone or iPad.